
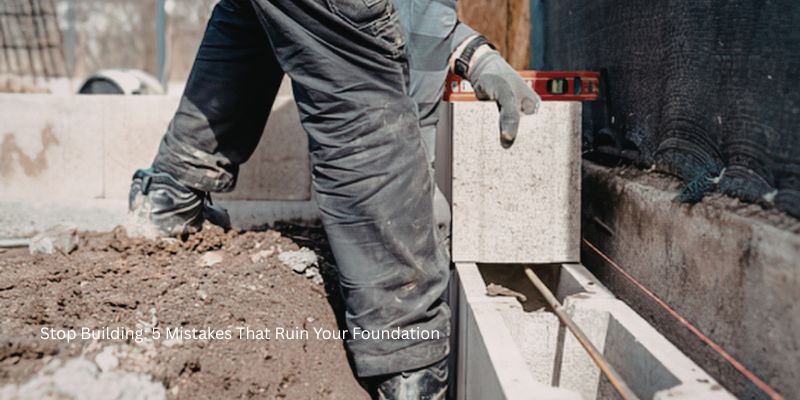
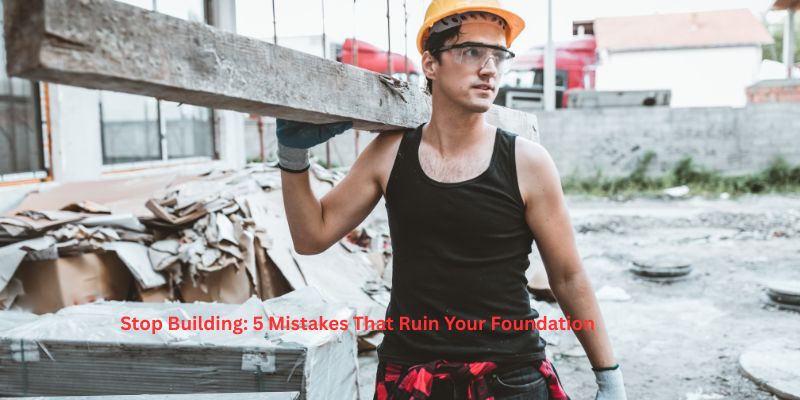
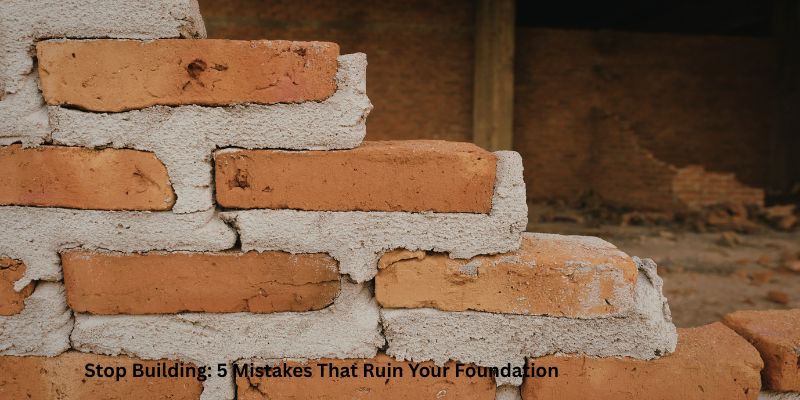
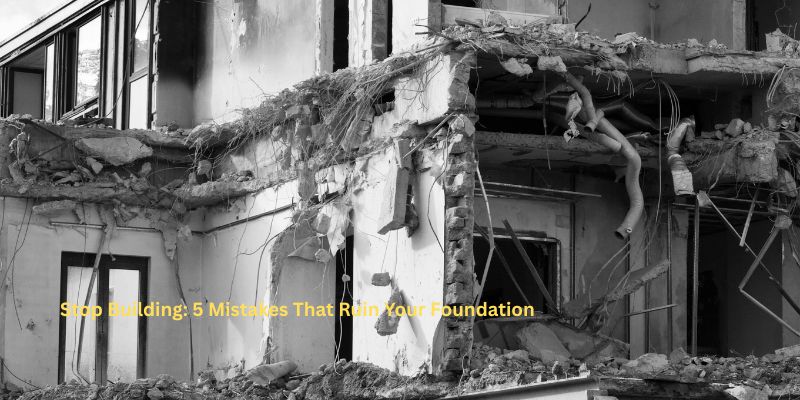
Stop Building: 5 Mistakes That Ruin Your Foundation
When you stand in front of a finished building, it’s easy to get distracted by the sleek glass, the polished marble, or the perfect coat of paint. But for those of us who live and breathe construction, we know the truth: a building is only as good as what lies beneath it. The foundation is the silent hero of any structure, yet it’s often where the most expensive, soul-crushing mistakes are made.
If you’re a developer, a site engineer, or a homeowner looking to build your dream space, the urge to “get moving” is strong. Pressure from stakeholders or the excitement of seeing walls go up can lead to cutting corners. However, rushing the substructure is the fastest way to turn a high-value asset into a structural liability. Before you pour a single cubic meter of concrete, you need to address these five critical mistakes that can—and will—ruin your foundation.
💧 Drainage Solutions
⏳ Concrete Curing Methods
🔩 Rebar Placement Standards
🏗️ Compaction Testing Tips
1. The “Guesswork” Trap: Neglecting Soil Analysis
One of the most common mistakes in the industry is assuming that soil is just “dirt.” In reality, soil is a complex engineering material with its own load-bearing capacity, moisture content, and chemical composition. Building without a professional geotechnical report is like flying a plane without a fuel gauge. You might feel fine for a while, but eventually, you’re going to hit the ground.
| Soil Type | Behavior | Foundation Risk |
|---|---|---|
| Clay-heavy soil | Swells when wet, shrinks when dry | High — causes uneven settlement & cracking |
| Sandy soil | Drains fast, low cohesion | Medium — risk of erosion & shifting |
| Expansive soil | Volume changes >10% | Very High — requires deep piers or treatment |
| Rock/stable soil | Minimal movement | Low — ideal for standard footings |
In many regions, particularly those with clay-heavy or expansive soils, the ground beneath the site changes volume based on water content. When it rains, the soil swells; during the dry season, it shrinks. If your foundation isn’t designed to handle these specific movements, the slab will crack, and the entire structure will begin to settle unevenly. A professional soil test tells you exactly how deep your footings need to go and what type of reinforcement is required to counter local geological challenges.
2. Water’s Secret War: Poor Drainage Planning
Water is the ultimate enemy of a foundation. Most people think foundation damage comes from the weight of the building above, but more often, it comes from the pressure of the earth around it. This is known as hydrostatic pressure. When water isn’t properly diverted away from a building, it pools around the perimeter. This saturated soil exerts immense force against the foundation walls.
- Hydrostatic pressure — can exceed 2,000 psf on basement walls
- Poor grading — water flows toward the foundation instead of away
- Missing gutters/downspouts — roof water dumps next to walls
- No French drain — groundwater collects against footings
- Missing waterproof membrane — concrete absorbs moisture, leads to mold
Effective drainage isn’t just about gutters; it’s about the “final grade.” The ground should always slope away from the foundation at a minimum of 5% to 10% for the first ten feet. Furthermore, failing to install a functioning French drain or a high-quality waterproofing membrane on the exterior of the foundation walls is a recipe for long-term disaster. According to NAWEA research, nearly 60% of premature foundation failures are tied to poor site drainage.
3. The Need for Speed: Improper Concrete Curing
In modern construction, time is money. There is always a push to strip the formwork early and start loading the foundation with bricks and steel. However, concrete doesn’t “dry”—it cures through a chemical reaction called hydration. If the moisture in the concrete evaporates too quickly—due to high temperatures, wind, or lack of proper wetting—the concrete will fail to reach its intended compressive strength (PSI).
| Curing Method | Strength Achieved (28 days) | Cost Impact |
|---|---|---|
| Proper moist curing (7+ days) | 100% design strength | Baseline |
| No curing / dry-out in 2 days | Only 50-60% strength | High risk of cracks |
| Curing compound only | 85-95% strength | Low — good alternative |
| Ponding water / wet burlap | 100%+ strength | Medium — best results |
This results in “shrinkage cracks.” While some hairline cracks are normal, premature loading of a foundation that hasn’t reached its 28-day strength can lead to deep, structural fissures.
4. Reinforcement Errors: More Than Just “Adding Steel”
We often see sites where rebar is thrown into the trenches without much thought, as if just having steel in there is enough. It isn’t. The placement of reinforcement is a precise science. Two major errors occur here:
- Incorrect Spacing and Sizing: Using a lower grade of steel or increasing the spacing between bars to save costs compromises the tensile strength of the slab.
- Lack of Concrete Cover: If the rebar is placed too close to the edge of the concrete (the “cover”), it is exposed to moisture and oxygen. This leads to carbonation and rust. When steel rusts, it expands, causing the concrete to “spall” or break away from the inside out.
Using “chairs” to keep rebar elevated and ensuring the steel is clean and free of heavy rust before the pour is non-negotiable for a professional build. ACI 318 standards require a minimum cover of 3 inches for cast-against-earth applications.
| Rebar Error | Consequence | Prevention |
|---|---|---|
| Rebar too close to the surface | Rust, spalling concrete | Use plastic chairs, maintain cover |
| Wider spacing than code | Cracking under load | Follow the engineering drawings exactly |
| Rusty or dirty rebar | Poor bond with concrete | Clean before pouring, avoid heavy rust |
| No lap splices / wrong length | Structural discontinuity | Verify lap splice lengths per ACI |
5. Ignoring Site Levels and Compaction
Even the strongest concrete will crack if it’s sitting on hollow ground. When a site is excavated, the soil is disturbed. If you backfill an area or try to level a sloped site without proper mechanical compaction, the ground will naturally settle over time under the weight of the building. This “differential settlement” is the primary cause of those massive diagonal cracks you see in walls. One side of the house sinks 2 inches while the other stays firm.
- Every layer of fill (lifts) must be compacted using a plate compactor or roller
- Moisture content must be just right to achieve maximum density (Proctor test)
- Target: 95% of modified Proctor density for structural fills
- Use a total station or laser level — “eyeballing” is obsolete
Furthermore, “eyeballing” the levels is a relic of the past. Using a total station or a laser level ensures that the foundation is perfectly flat. A foundation that is out of level by even half an inch can cause doors to stick, windows to jam, and roofing components to misalign throughout the entire house.
- ✔ Subgrade cleared of organic material and soft spots
- ✔ Moisture content within 2% of optimum (ASTM D698)
- ✔ Compaction tested with nuclear density gauge or sand cone
- ✔ Minimum 95% modified Proctor achieved
- ✔ Laser level verification of elevation across entire footprint
The Engineer’s Perspective: Why Quality Matters
At the end of the day, construction is about building a legacy. Whether you are managing a 132kV grid station or a residential villa, the principles of civil engineering don’t change. You cannot build a great structure on a weak base. As professionals, our job is to be the voice of reason on-site. When a client asks to skip the soil test or a contractor wants to pour concrete in the middle of a heatwave without a curing plan, it’s our responsibility to say, “Stop building.”

| Cost of Prevention | Cost of Repair (After Failure) | Ratio |
|---|---|---|
| Soil test: $2,000–$5,000 | Underpinning: $50,000–$150,000 | 1:25 |
| Proper drainage: $3,000–$8,000 | Waterproofing + crack repair: $30,000–$80,000 | 1:10 |
| Curing compound: $500 | Foundation replacement: $60,000+ | 1:120 |
| Compaction testing: $1,000–$2,500 | Helical piers: $20,000–$50,000 | 1:20 |
Summary Checklist for a Rock-Solid Foundation
- Geotechnical Report: Never build without knowing what’s under your feet.
- Compaction Testing: Ensure the soil can actually support the PSI of your structure.
- Waterproofing: Divert water away before it becomes a pressure problem.
- Precision Steel: Use the correct grade and ensure proper concrete cover.
- Patience: Give the concrete the time and moisture it needs to gain full strength.
Foundation Failure Warning Signs (Don’t Ignore These)
- 🔴 Diagonal cracks wider than 1/8 inch in walls
- 🔴 Sticking doors or windows that used to work
- 🔴 Gaps between walls and ceiling or floor
- 🔴 Sloping or bouncing floors
- 🔴 Water in the basement or crawl space after rain
- 🔴 Separated exterior brick veneer
Final Thoughts: Do It Right, Do It Once
Construction is one of the few industries where your mistakes are literally “set in stone.” Fixing a foundation after the house is finished is ten times more expensive than doing it right the first time. By avoiding these five common pitfalls, you aren’t just saving money—you’re ensuring the safety and longevity of the people who will eventually call that building home. Do it right, do it once, and build something that stands the test of time.
Keywords Optimized for SEO: Civil Engineering, Foundation Mistakes, Construction Site Management, Structural Integrity, Soil Analysis, Concrete Curing, Building Drainage, Rebar Placement, Project Management, Residential Design, Geotechnical Report, Hydrostatic Pressure, Differential Settlement.